
Great installs begin before the first panel leaves the bench. Surface prep decides whether film bonds evenly, edges hold through seasons, and the finish looks calm rather than bumpy. When prep is disciplined, installers spend less time chasing lift and more time laying clean seams. This guide gives a practical, repeatable process that fits day to day shop reality.
Start with a smart inspection
Walk the vehicle with clean hands and sharp eyes. Note stone chips, sanding marks, touch ups, overspray, silicone dressings, tar, sap, and hard water spots. Check edges around wheel arches, door handles, and window trims where grime collects. Ask about recent paintwork. Fresh resprays can be soft and may release adhesive under heat. If a panel looks suspect, perform a small adhesion test in a hidden spot and set expectations with the owner before you accept the job.
Identify materials that behave differently
Gloss paint, matte paint, bare plastics, rubber trims, and chrome each respond to cleaners and heat in their own way. Matte paint stains if rubbed with oily products. Soft touch plastics can mark under aggressive solvents. Chrome shows every streak. Plan your cleaners for each surface so you remove contamination without creating new defects.
Decontaminate the right way
Begin with a thorough wash using a quality detergent that removes road film without leaving gloss enhancers. Rinse with care so seams do not hold soap. Dry with clean towels and compressed air to push water from mirrors, badges, window seals, and fuel doors. Water trapped in seams will later bleed behind vinyl and cause lift.
Chemical decon for bonded grime
If the paint shows tar flecks or heavy fallout, use dedicated tar or fallout removers as needed. Work panel by panel and rinse well. Do not allow strong chemicals to dwell on plastics or rubber trims. The aim is a bare, clean surface with nothing slick left behind.
Mechanical decon for smoothness
Use a clay media on stubborn areas to shear off bonded particles. Keep the surface lubricated and use light pressure. Wipe residue with a clean towel as you go. Inspect with a bright light. A smooth face reduces trapped dots that show as tiny bumps under film.
Degrease like you mean it
Oils are the enemy of adhesion. Wipe every wrap area with fresh 70 percent isopropyl alcohol using lint free towels. Fold the towel to fresh quarters as soon as it loads with soil. Swap towels often. Do not reuse cloths from wheel wells or engine bays on paint. Where dressings or waxes hide near trims, use soft brushes and a little cleaner to lift residue, then follow with alcohol. If you see rainbow sheens on the wipe, there is still silicone on the panel. Keep cleaning until the wipe pulls clean.
Blow out seams and hardware
Use clean compressed air to drive dust and moisture from badges, emblems, mirror bases, door handles, antenna gaskets, and window seals. Contamination migrates out of seams when heat is applied during install. Clearing it now prevents adhesive failure later.
Disassembly that saves time later
Remove items that block film placement when practical. Badges, plate brackets, side markers, antenna covers, and wiper arms often come off quickly and let you lay film without risky cuts. Bag hardware and label it. Photograph positions if alignment matters. If removal would risk damage, plan careful inlays and protect paint with knifeless tape.
Mask what should not see adhesive
Mask porous trims, raw plastics, felt window seals, and textured rubbers with low tack tape to keep adhesive from bridging and leaving strings. Mask adjacent panels where blades or heat could mark them during install. A few minutes of masking prevents hours of cleanup.
Control the shop environment
Wraps prefer stable conditions. Aim for a clean, dust controlled bay with good lighting, minimal drafts, and a sensible temperature range. Cold panels fight you and hot panels soften adhesives too quickly. If the car rolled in wet or dusty, allow time for the bay and the body to settle before you start.
The final wipe that actually works
Right before material touches paint, perform a last alcohol wipe on the exact zones that will be wrapped, plus a small margin past each edge. Use fresh gloves and fresh towels to avoid reintroducing skin oils. Keep hand prints off cleaned areas. If you pause for a break, repeat the wipe along edges when you return.
Mind your microfiber hygiene
Towels pick up contaminants fast. Keep a stack of new ones for paint only. Retire any towel that touched wheels, rubber dressings, or engine bay areas. Lint and silicone transfer through towels and weaken adhesion without you noticing until edges lift.
Edge prep for long life
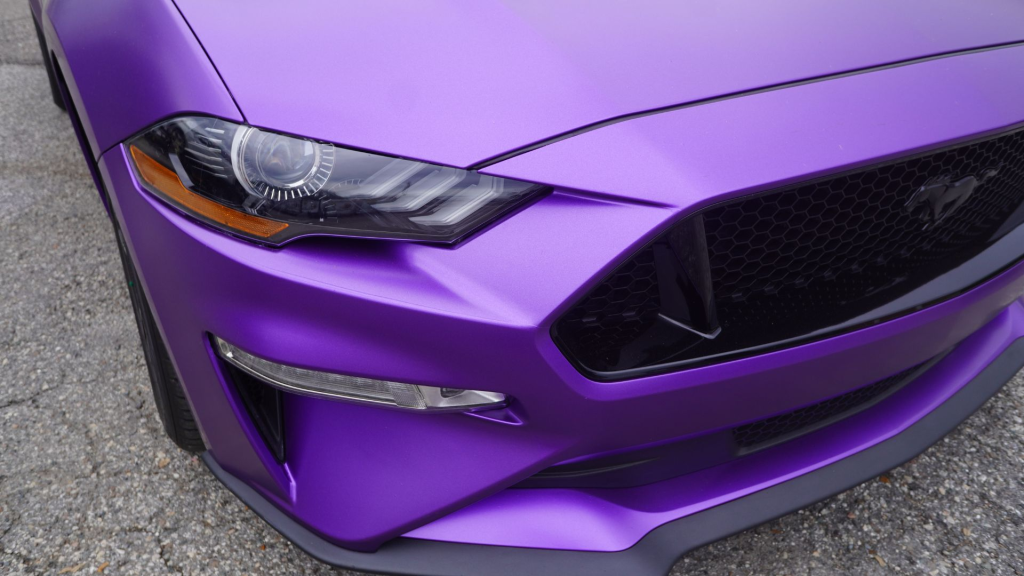
Edges and corners see stress from wind and washes. Where geometry is tight or where you expect stretch, consider a small run of primer tape on the paint just inside the final edge. Primer tape is predictable and cleaner than brushing liquid primer. Use it on forward facing tips, bumper returns, and rocker edges as needed. Do not flood the car with primer. Reserve it for stress points.
Plan seams with knifeless tape
Use knifeless tape to define seam lines along natural body features. This keeps cuts off paint and creates consistent edges you can trust. Place tape before the final wipe so you do not touch cleaned edges afterward.
Special surfaces and how to treat them
Matte and satin paint
Do not introduce gloss. Clean with gentle products only and use light pressure. Matte topcoats absorb oils that are difficult to remove. If a stain exists before wrapping, note it in writing since film will not hide texture or discoloration on matte finishes.
Plastics and textured parts
Bare plastics can be porous and may release outgassing under heat. If you must wrap them, clean deeply, warm gently, and consider an adhesion promoter at hidden edges. Expect shorter service life than painted metal.
Chrome and polished trim
Chrome magnifies flaws. Clean twice, then handle with soft gloves. Any leftover residue will show as micro bumps under film. For tiny strip mouldings, consider removal rather than trying to bridge panel gaps.
Repainted panels
Soft clear coats, solvent pop, and sinkage cause trouble. Perform a firm tape pull test in a hidden area. If clear lifts or if the surface feels gummy under heat, reconsider wrapping or obtain a written waiver. Wraps bond to paint quality. They cannot fix weak substrate.
Adhesion tests that protect your warranty
After cleaning, place a small swatch of the chosen film on a representative area. Squeegee with pressure, warm lightly, then try to lift after a few minutes. You should feel a healthy bond. If the swatch releases easily or shows contamination on its adhesive, the panel needs more cleaning or is not suitable for a long term wrap. Repeat tests on both cool and warm panels so you know how the surface behaves.
Keep the vehicle clean during install
Work clean. Do not lean dusty clothing against prepped areas. Keep squeegee felts and gloves free of grit. Avoid sprays that leave residue in the air. If you use a slip aid on the film face to help glide, wipe any overspray from paint immediately so it does not wick under edges later.
Panel temperature and timing
Warm, not hot, panels accept film more willingly. If the bay is cold, gently bring panels up to a comfortable temperature with safe, broad heat. Do not scorch or spot heat bare paint. Install panels in an order that keeps you away from fresh edges. For example, finish the roof before leaning across side panels, and complete vertical faces before bumpers so you do not brush new edges while moving around the vehicle.
Document and communicate
Photograph pre existing defects, note them on the work order, and walk them with the client during intake. Explain that prep is thorough but cannot reverse paint damage that already exists. Set aftercare expectations at the same time. When buyers understand the process, they respect your price and trust your result.
A simple checklist you can follow
Inspect and note. Wash, rinse, and dry. Chemical decon where needed. Clay for bonded grit. Alcohol wipe with fresh towels. Blow out seams. Mask porous trims and adjacent panels. Remove simple hardware. Place knifeless where seams will sit. Apply targeted primer tape on stress edges. Final alcohol wipe with fresh gloves. Perform adhesion swatches. Begin install with confidence.
Troubleshooting common prep issues
If edges lift during install, revisit cleaning near trims. Silicone from dressings migrates and needs mechanical agitation to remove. If bumps show under film in random spots, contamination survived the wash. Lift the panel, reclean the area, and reset. If adhesive smears on the wipe, the panel was too hot or a strong solvent was used too recently. Allow the surface to gas off and cool before continuing. If a freshly repainted panel releases clear under tape, stop and renegotiate the scope or decline that panel.
The takeaway that saves callbacks
Clean is not a single step. It is a sequence. Inspect, decontaminate, degrease, protect edges, control the bay, and verify adhesion before the first panel. When wrap surface prep becomes a ritual, installs run smoother, edges stay tight, and customers return with compliments rather than concerns. Your team moves faster because the film is not fighting hidden contamination. That is how prep turns into profit.