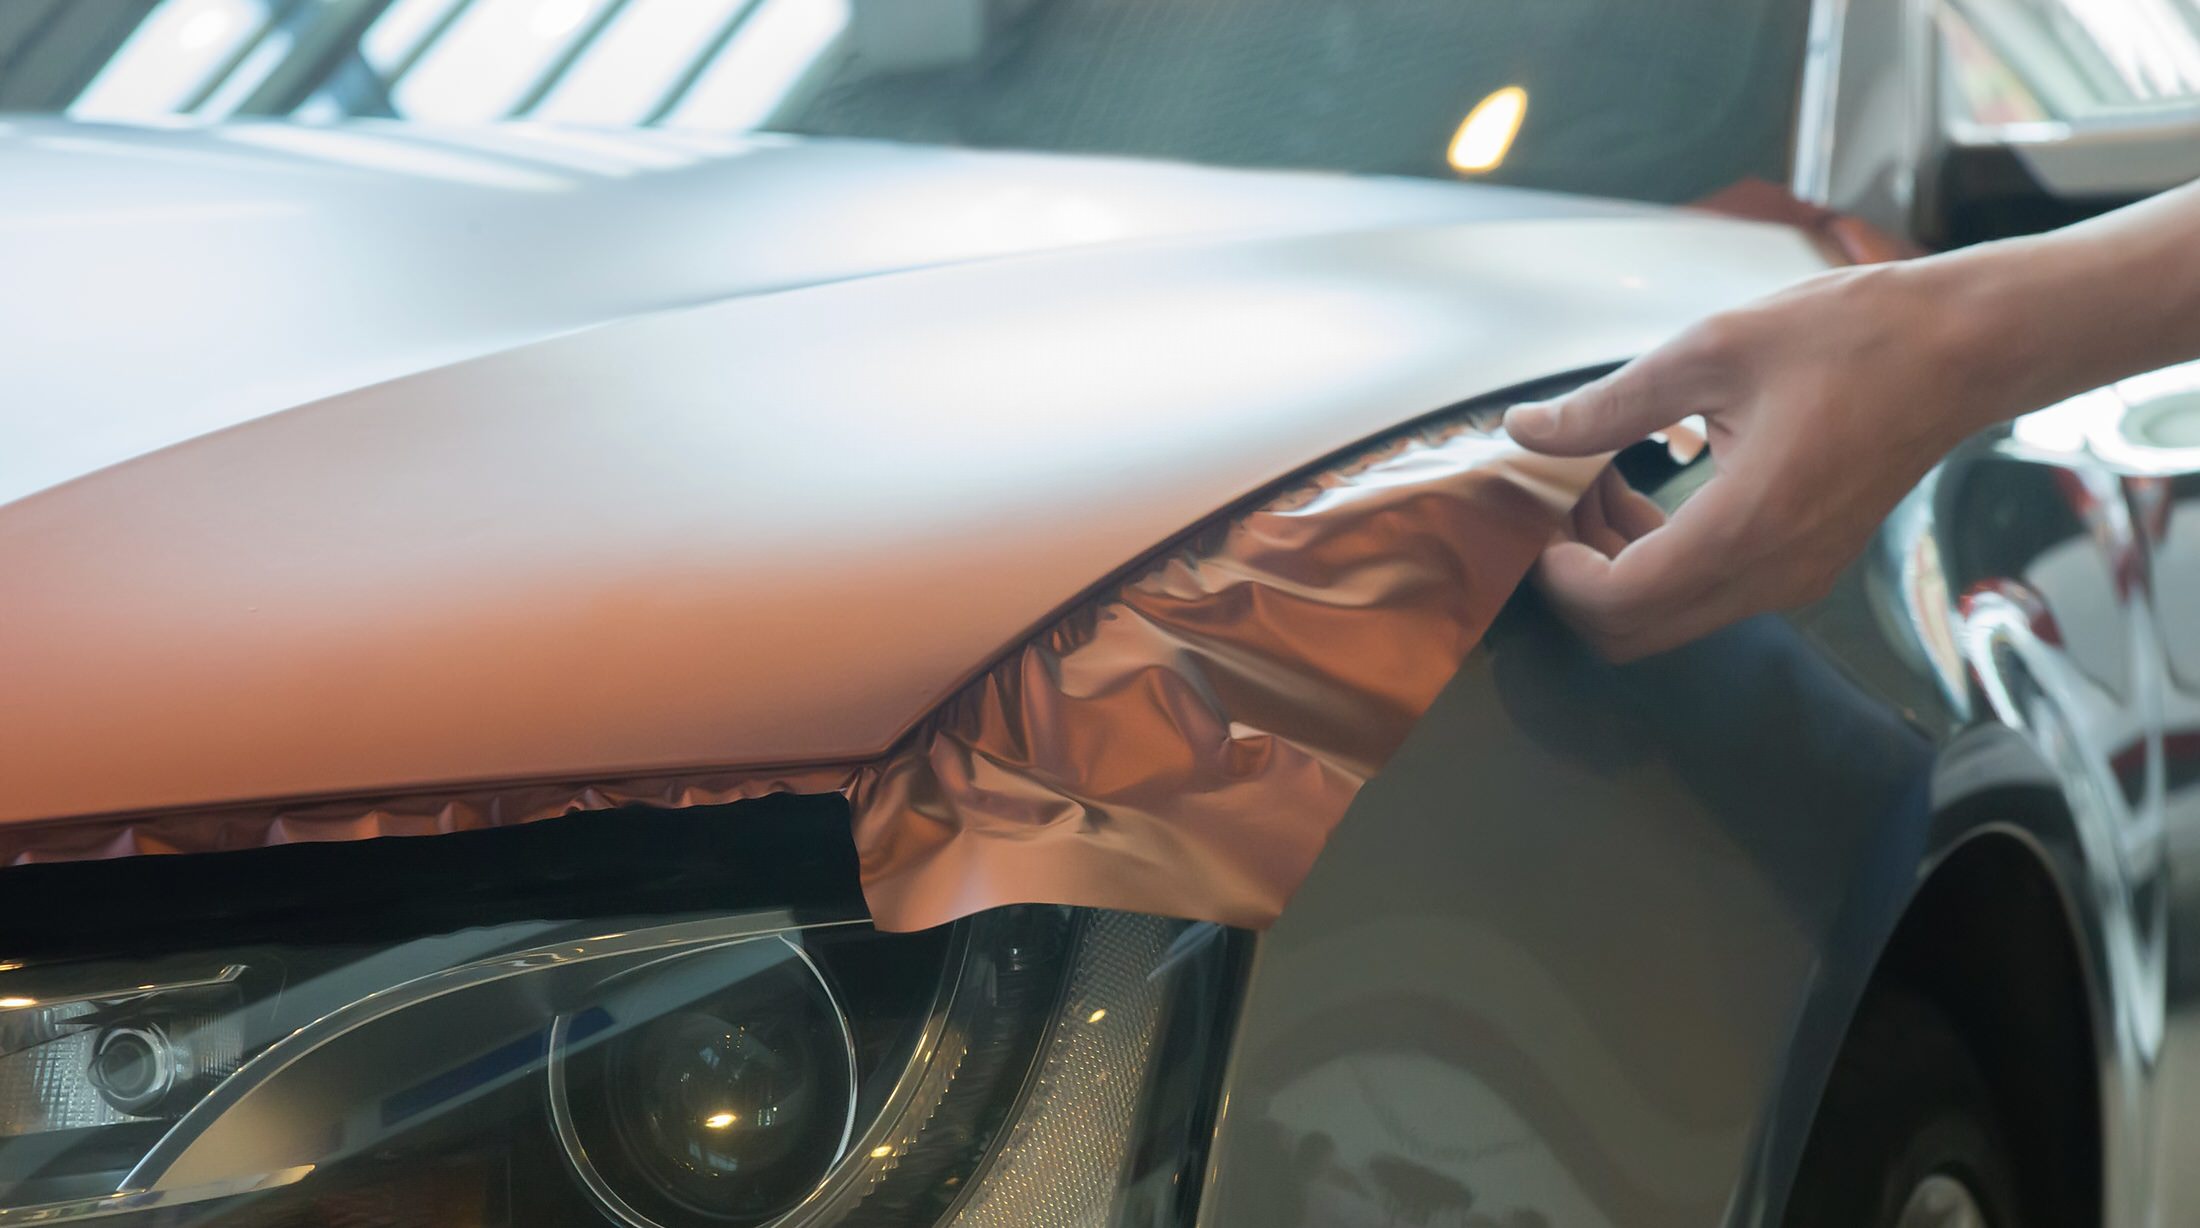

Wraps fail for only a handful of reasons, but those reasons show up in many ways. Most problems trace back to three forces. The surface was not truly clean. The film was stretched or heated outside its comfort zone. The edge or seam was planned in the wrong place and left under tension. Once you know how those forces behave, prevention becomes a routine rather than a guess.
Why wraps fail in the first place
A clean, stable substrate is the foundation. Adhesive wants bare, degreased paint with no wax, silicone, or moisture hiding in seams. The second factor is mechanical stress. Film remembers how far it was stretched and tries to return. The third factor is environment. Cold panels fight bonding and hot panels soften adhesive too quickly. If any one of those is off, a small imperfection becomes a visible failure in days or weeks.
Edge lift starts small and grows fast
Edge lift often begins at a corner or forward facing edge that was stretched and never fully relaxed. Wind pressure and wash force work on that tiny lip. Dirt creeps under the edge and the bond weakens further. The fix begins earlier than the visible symptom. Choose edge locations that see less direct wind, keep stretch within sensible limits, and seat the edge with firm pressure once the film is calm. If a shape forces aggressive turns, use an inlay rather than forcing a single piece.
Adhesion failure usually means contamination
Silicone tire shine, wax residue, road film, and polishing oils are the quiet enemy. They hide along trim, badges, and window seals and migrate under heat. A wipe that shows a rainbow sheen is telling you the surface is not ready. The cure is a disciplined prep routine. Wash, rinse, dry, chemical decontamination where needed, mechanical clay on stubborn grit, and a thorough isopropyl alcohol wipe with lint free towels. Blow out seams and hardware so trapped moisture does not bleed later. If a swatch test peels too easily, clean again before the first panel goes down.
Overstretch looks fine on day one and fails later
Film can be persuaded to move, but it cannot be bullied without consequences. When you pull hard into a deep pocket or around a tight tip, the face thins, the adhesive line narrows, and the film stores stress. On delivery it may look perfect. Weeks later, warmth and vibration release that stress and the edge walks back. The professional fix is restraint. Map panels so hard geometry gets seams or inlays. Stretch with intent after gentle heat. Post heat any zone that went past a small percentage of elongation so memory resets.
Temperature and environment make or break bonding
Panels that feel cold to the touch resist adhesive wet out. Panels that feel hot soften adhesive and make it smear. A clean, stable bay with good light, calm air, and sensible temperature saves hours of rework. Warm panels gently before install. Keep heat guns and torches for film, not for bare paint. When you return from a break, re wipe edges so skin oils do not become a surprise lift a week later.
Paint and substrate issues masquerade as wrap failure
Wraps bond to the quality beneath them. Soft clear on a fresh respray can release under heat. Poorly cured body filler can outgas and bubble under film. Failing clear coat can lift when tape is removed. Run an adhesion and tape pull test in a hidden spot during intake. If paint lifts, either decline that panel or obtain a clear written waiver. Vinyl cannot fix weak substrate. It only hides it until heat and movement reveal the truth.
Panel mapping and seam strategy reduce tension
Failures cluster where geometry is hostile. Long, sharp returns at bumper tips, reverse angles near fog bezels, and deep channels make film work too hard if you chase one piece coverage. A clean seam in a shadow line beats a stretched panel that never calms. Plan overlaps with the top edge facing the wind. Use knifeless tape to place seams exactly and avoid cutting paint. Label inlays on the print so installers find them quickly rather than forcing a risky stretch at the bench.

Heat discipline prevents both lift and face damage
Heat has three jobs. Shaping heat relaxes film so it moves without fight. Post heat resets memory in stretched areas. A short, focused warm pass seats edges so adhesive wets out. Problems appear when those jobs are mixed. If you try to post heat an entire panel, you risk gloss changes and drag adhesive. If you push cold film into a recess, you hide tension that returns as lift. Work in stages and watch the face. Uniform sheen and calm texture tell you the surface is happy.
Tooling and pressure matter more than you think
A clean felt squeegee that glides with light lubricant on the film face prevents micro scuffs and lets you work without forcing the film. Firm, even strokes that push air away from seams seat adhesive without building bridges. Hard cards without fresh felts scratch, grab, and lift edges as you pass. The wrong tool makes the right technique look clumsy. Keep felts clean, replace them often, and run a fingertip along edges to feel for spring before you call a panel finished.
Primer, edge sealer, and when to use them
Primer tape and liquid promoter are not a cure for bad technique. They are a last line of insurance at stress points. Forward facing tips, rocker edges, and wheel arcs that see wash pressure can benefit from a small strip of promoter on paint just inside the final edge. Apply cleanly and sparingly. If you need promoter everywhere, the panel plan is wrong. Sealer is similar. Use it for high risk edges that face the wind. Use it once the edge is seated and calm, not as a way to glue down a stretched lip.
Printed wraps fail differently than color change
Printed and laminated film carries extra thickness and a different surface feel. Laminate can haze if overheated and can creep at edges if it was stretched hard. Keep shaping heat gentle and post heat precise. Color change films often drape more willingly, but they still fail if you chase deep recesses in one pass. The principle is the same. Respect the film, avoid thinning the face, and choose seams where shapes demand them.
Diagnosing failures with a short checklist
When you see lift, check the edge for thin face and whitening that signal overstretch. If the edge looks normal but releases with a pop, suspect contamination under the adhesive. If the entire piece feels loose, suspect cold panels or poor post heat. If bubbles appear days later in random spots, suspect outgassing from repaint or trapped moisture from shortcuts during drying. The diagnosis guides the fix. Lift from stretch needs a new piece or a smart inlay. Lift from contamination needs cleaning and a reset. Outgassing needs time and, often, a conversation about substrate quality.
Rework procedures that protect the finish
Do not yank a failing piece. Warm it until the adhesive softens, then pull back over itself at a low angle so the bond releases cleanly. Clean residual adhesive with an approved remover, then re wipe with alcohol. If the area will receive a patch or inlay, design the shape so it sits in a calm zone with edges that mirror body lines. Post heat the new edges and let the panel rest before final inspection.
Quality checks before delivery
Under bright light, trace every seam, corner, and tip with a fingertip. Edges should feel planted, not springy. Look for tiny bridges near hardware and trim. Those bridges store tension and attract dirt. Check symmetry on stripes and printed graphics across door gaps. If a corner worries you, warm and seat it again rather than hoping it holds. A five minute check now prevents a phone call later.
Aftercare mistakes that get blamed on installers
Automatic brushes scuff films and pick at edges. Aggressive degreasers stain matte finishes and weaken adhesive. Pressure washers held close to forward edges can lift even well seated film. Give every customer a one page aftercare sheet. Wash by hand with pH neutral soap. Use soft mitts and towels. Keep the nozzle at a safe distance. Avoid strong solvents on vinyl. A clear routine keeps the finish looking right and protects your warranty.
Warranty boundaries that keep trust
State plainly what you cover and for how long. Workmanship issues appear early and should be handled promptly. Impact damage, abuse, or neglect should be excluded. If a panel was repainted and fails beneath the wrap, explain that the failure is in the substrate. A fair policy builds loyalty. People return when they know you will fix real problems and explain the rest without blame.
The prevention process in daily practice
Make surface prep a ritual. Test adhesion before you commit. Map panels and choose seams where the eye accepts them. Stretch with intent after gentle heat. Post heat the zones that were truly stretched. Seat edges with firm pressure and a short warm pass. Inspect under strong light and trust what your fingers tell you. Educate every owner on care so your work looks as good in six months as it does today.
The bottom line
Wrap failure is not mysterious. It is the visible result of contamination, overstretch, or poorly managed edges, usually aided by the wrong temperature at the wrong moment. When you control those variables, lifts and adhesion loss nearly disappear. The wrap lays calm, the customer notices the absence of problems, and your schedule fills with referrals rather than reworks. That is the quiet reward of doing small steps right every single time.