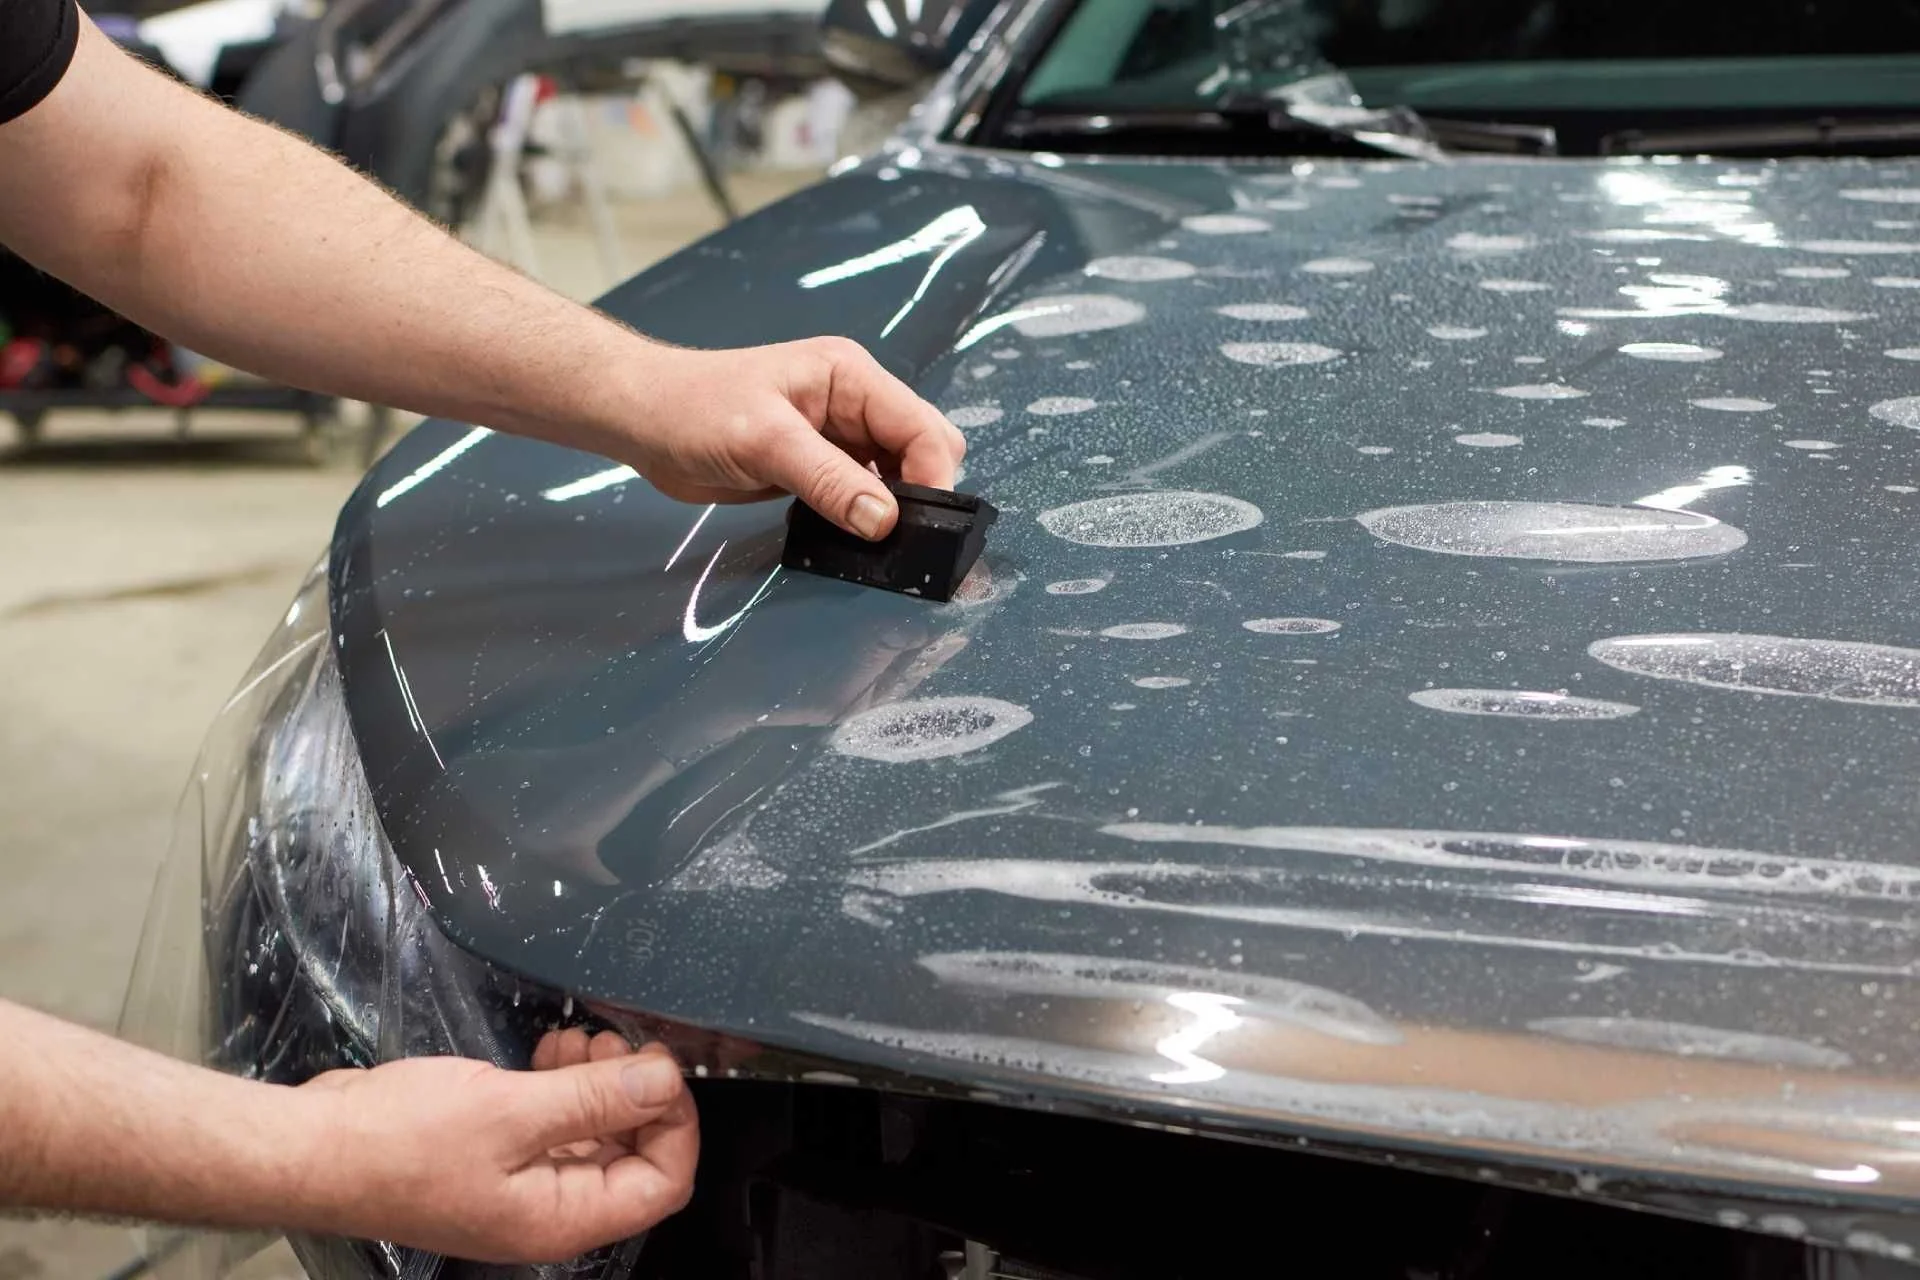

The best installer in the room is the room itself. When climate, air, light, and layout are right, film relaxes, edges seat, and you stop chasing tiny flaws that steal time. A tidy shop is not a luxury. It is a multiplier on every hour you work. The following plan gives targets you can hit and routines you can repeat so results stay steady through seasons and staff changes.
Climate control is a quality tool
Adhesives need warmth to wet out and moderate humidity to behave. Aim for a steady 18 to 24°C with relative humidity between 40 and 55 percent. Below that band, film builds static and attracts dust. Above it, adhesives feel smeary and edges do not firm up. Hold temperature, do not spike it. A small, stable rise across the whole bay beats hot corners and cold doors. Put a simple hygrometer and thermometer at vehicle height and glance at them as often as you check your fuel in a torch. If the car rolled in wet or frosted, allow panels to acclimate to room conditions before prep. Condensation on cool metal is the hidden cause of lift that appears a few days later.
Airflow the film will thank you for
Air should move gently and predictably. In an ideal world, air enters from the ceiling in front of the car and leaves low behind it. That pushes dust away from the work zone and prevents eddies near edges. If your heaters blast hard, diffuse them with a simple baffle and add a slow fan to mix air without stirring grit off the floor. Keep doors closed during installs. If traffic is unavoidable, build a short air curtain near the entrance so outdoor gusts do not sweep across fresh edges.
Dust control that actually works
Dust is a habit, not a one time clean. Choose a smooth, sealed floor that mops easily. Epoxy or well sealed concrete is far better than raw, flaky slabs. Wet mop at opening and again after heavy sanding or cutting in any adjacent space. Park a shoe mat at the bay door and a sticky pad at the install zone so grit does not travel on boots. Vacuum, do not just blow. Where you must blow out seams, follow with a vacuum pass and an alcohol wipe so loosened particles do not ride back out under heat.
Filters, traps, and clothing
Upgrade HVAC filters to a higher MERV rating within your unit’s specs and change them on a schedule. If you use compressed air, drain water traps daily since water spits become fisheyes under film. Wear low lint clothing and fresh gloves at the car. Felt squeegees shed when they age. Replace felts often and keep them in a covered bin so they stay clean between passes. Microfiber towels should be color coded. One color for paint, another for jambs and plastics. No towel crosses that line.
Lighting that reveals the truth
You cannot fix what you cannot see. Target 1000 to 1500 lux on the vehicle surface with a color temperature around 4000 to 5000 Kelvin and a high color rendering index so texture and flaws are obvious. Overhead light handles general work. Add wall mounted strips at head height on both sides so you cast raking light across edges and seams. A small handheld inspection light catches tiny bridges near trim and badges. Match lighting across bays so your eye does not relearn conditions each time you move a car.
Glare, shadow, and sheen
Gloss films and laminate show heat marks and dust differently than matte. Reduce harsh point sources that flare on gloss surfaces and increase angled light that reveals texture on satin. If you see a seam only when you move a lamp by hand, mount a similar lamp on the wall so the reveal becomes part of your standard view.
Layout that saves steps
Divide the shop into clean zones that follow the work. Intake and wash, prep and disassembly, print and lamination, bench cutting, install, and final check. Keep cutting and sanding far from the install bay. If both must live near each other, schedule them apart and clean between tasks. A comfortable bench height near the vehicle speeds panel trimming and label application. Many techs like a bench surface near 90 centimeters so backs and shoulders stay relaxed during long sets.
Storage that keeps film calm
Store rolls upright in their boxes away from direct sun and heaters. Keep storage in the same climate band as the bay so material does not shrink or curl when it moves. First in, first out is more than accounting. It keeps adhesives and liners fresher on the bench. If a roll arrives cold, let it acclimate in the shop for several hours before you unbox it.
Humidity routines for every season
Dry air builds static that grabs dust and makes slip sprays flash too fast. If you are under 40 percent relative humidity, a small humidifier run during work hours calms the face and helps squeegees glide. Over 55 percent, dehumidify so edges do not feel gummy and post heat does not pull moisture back out of seams. Balance water traps on compressors and empty them more often when humidity rises. In all seasons, wipe panels right before material touches paint so you remove the last film of moisture and oils your hands may have left.
Tooling and power that prevent interruptions
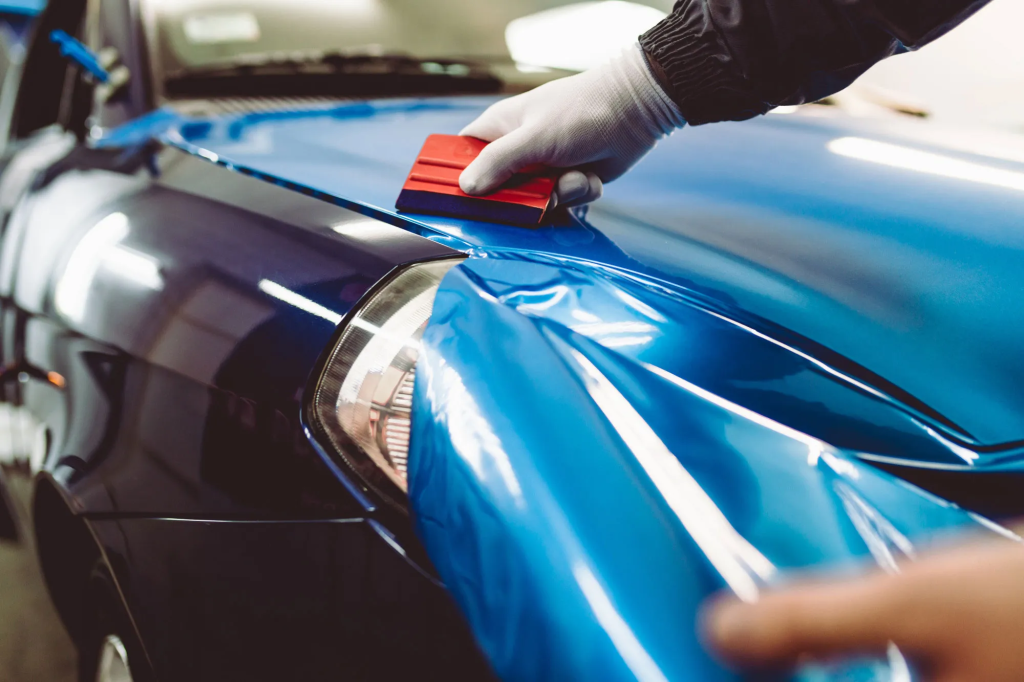
Nothing kills rhythm like a tripped breaker or a dead gun. Put heat guns on dedicated circuits. Hang them on simple hooks near both front corners of the vehicle so cords do not drag across film. Mount a safe torch stand and check regulators weekly. Keep an infrared thermometer nearby for training and quick checks, then let your fingers judge once you know the feel. Place knifeless tape, primer tape, felts, and spare blades in labeled bins within arm’s reach of the bay. When tools return to the same place, the next panel starts sooner.
Clean prep without cross contamination
Washing and decontamination create water and fallout that do not belong in the install zone. If space allows, keep wash and clay work in a separate area and bring the vehicle into the bay only when it is dry. Blow water out of badges, mirrors, and trims with clean air, then let the car sit until seams stop weeping. Your final alcohol wipe should happen once, right before the panel goes down, with fresh towels and fresh gloves. If you stop for lunch, wipe edges again when you return. Small resets prevent tiny lifts that become big ones under wind.
A daily checklist the team can follow
Open the bay and check temperature and humidity. Mop floors near the vehicle lane and the install zone. Empty compressor traps and check hose ends for moisture. Replace full trash and wipe benches. Set fresh felts and a clean blade stack at each station. Confirm lighting and recharge inspection lamps. Restock primer tape and knifeless. During the day, keep doors closed, sweep when you cut backing or trim heavy, and bag removed hardware so it returns to the same place. At close, vacuum floors, cover benches, and note any supplies to order. Routines beat motivation every time.
Troubleshooting the shop, not just the car
If dust nibs show in the same area on multiple jobs, stand in that spot and watch the air with a bright light. You may see a small draft from a cracked seal or a heater plume that points at your bumper corner. If edges lift more often in winter, you are likely rushing acclimation or working around condensation you cannot see. If film feels grabby all day, humidity is probably too low and static is rising. Change the room and the symptom will fade without heroic install tricks.
A simple two bay blueprint
Place intake and wash near the door with a drain and bright task lighting. Position prep next, with rolling carts for badges and trim. Keep print and lamination in a separate clean room with its own climate band so dust from cutting never lands on adhesive. The main install bay sits farthest from the door with the best lights and the fewest pass throughs. Final check and handover happen near the exit with wall lights that reveal seams, a small shelf for aftercare sheets, and a hook for the license plate frame while you wipe the last fingerprints.
Culture makes the setup work
A clean shop is a choice you make every hour. Praise the teammate who catches a dusty felt before it touches paint. Replace towels and felts before they force a redo. Invite everyone to suggest small moves that save a step or stop a mess. When the room supports the work, installers focus on the film instead of fighting the space.
The takeaway
Control climate, move air gently, light the car from above and from the side, and separate dirty tasks from clean ones. Store and handle film in the same conditions you install it in. Mop, wipe, swap felts, and reset edges as a ritual, not a rescue. When humidity, dust, lighting, and layout align, the wrap reads calm to the eye, edges stay down through weather and washes, and your schedule fills with repeat customers who notice just how clean your work looks in any light.