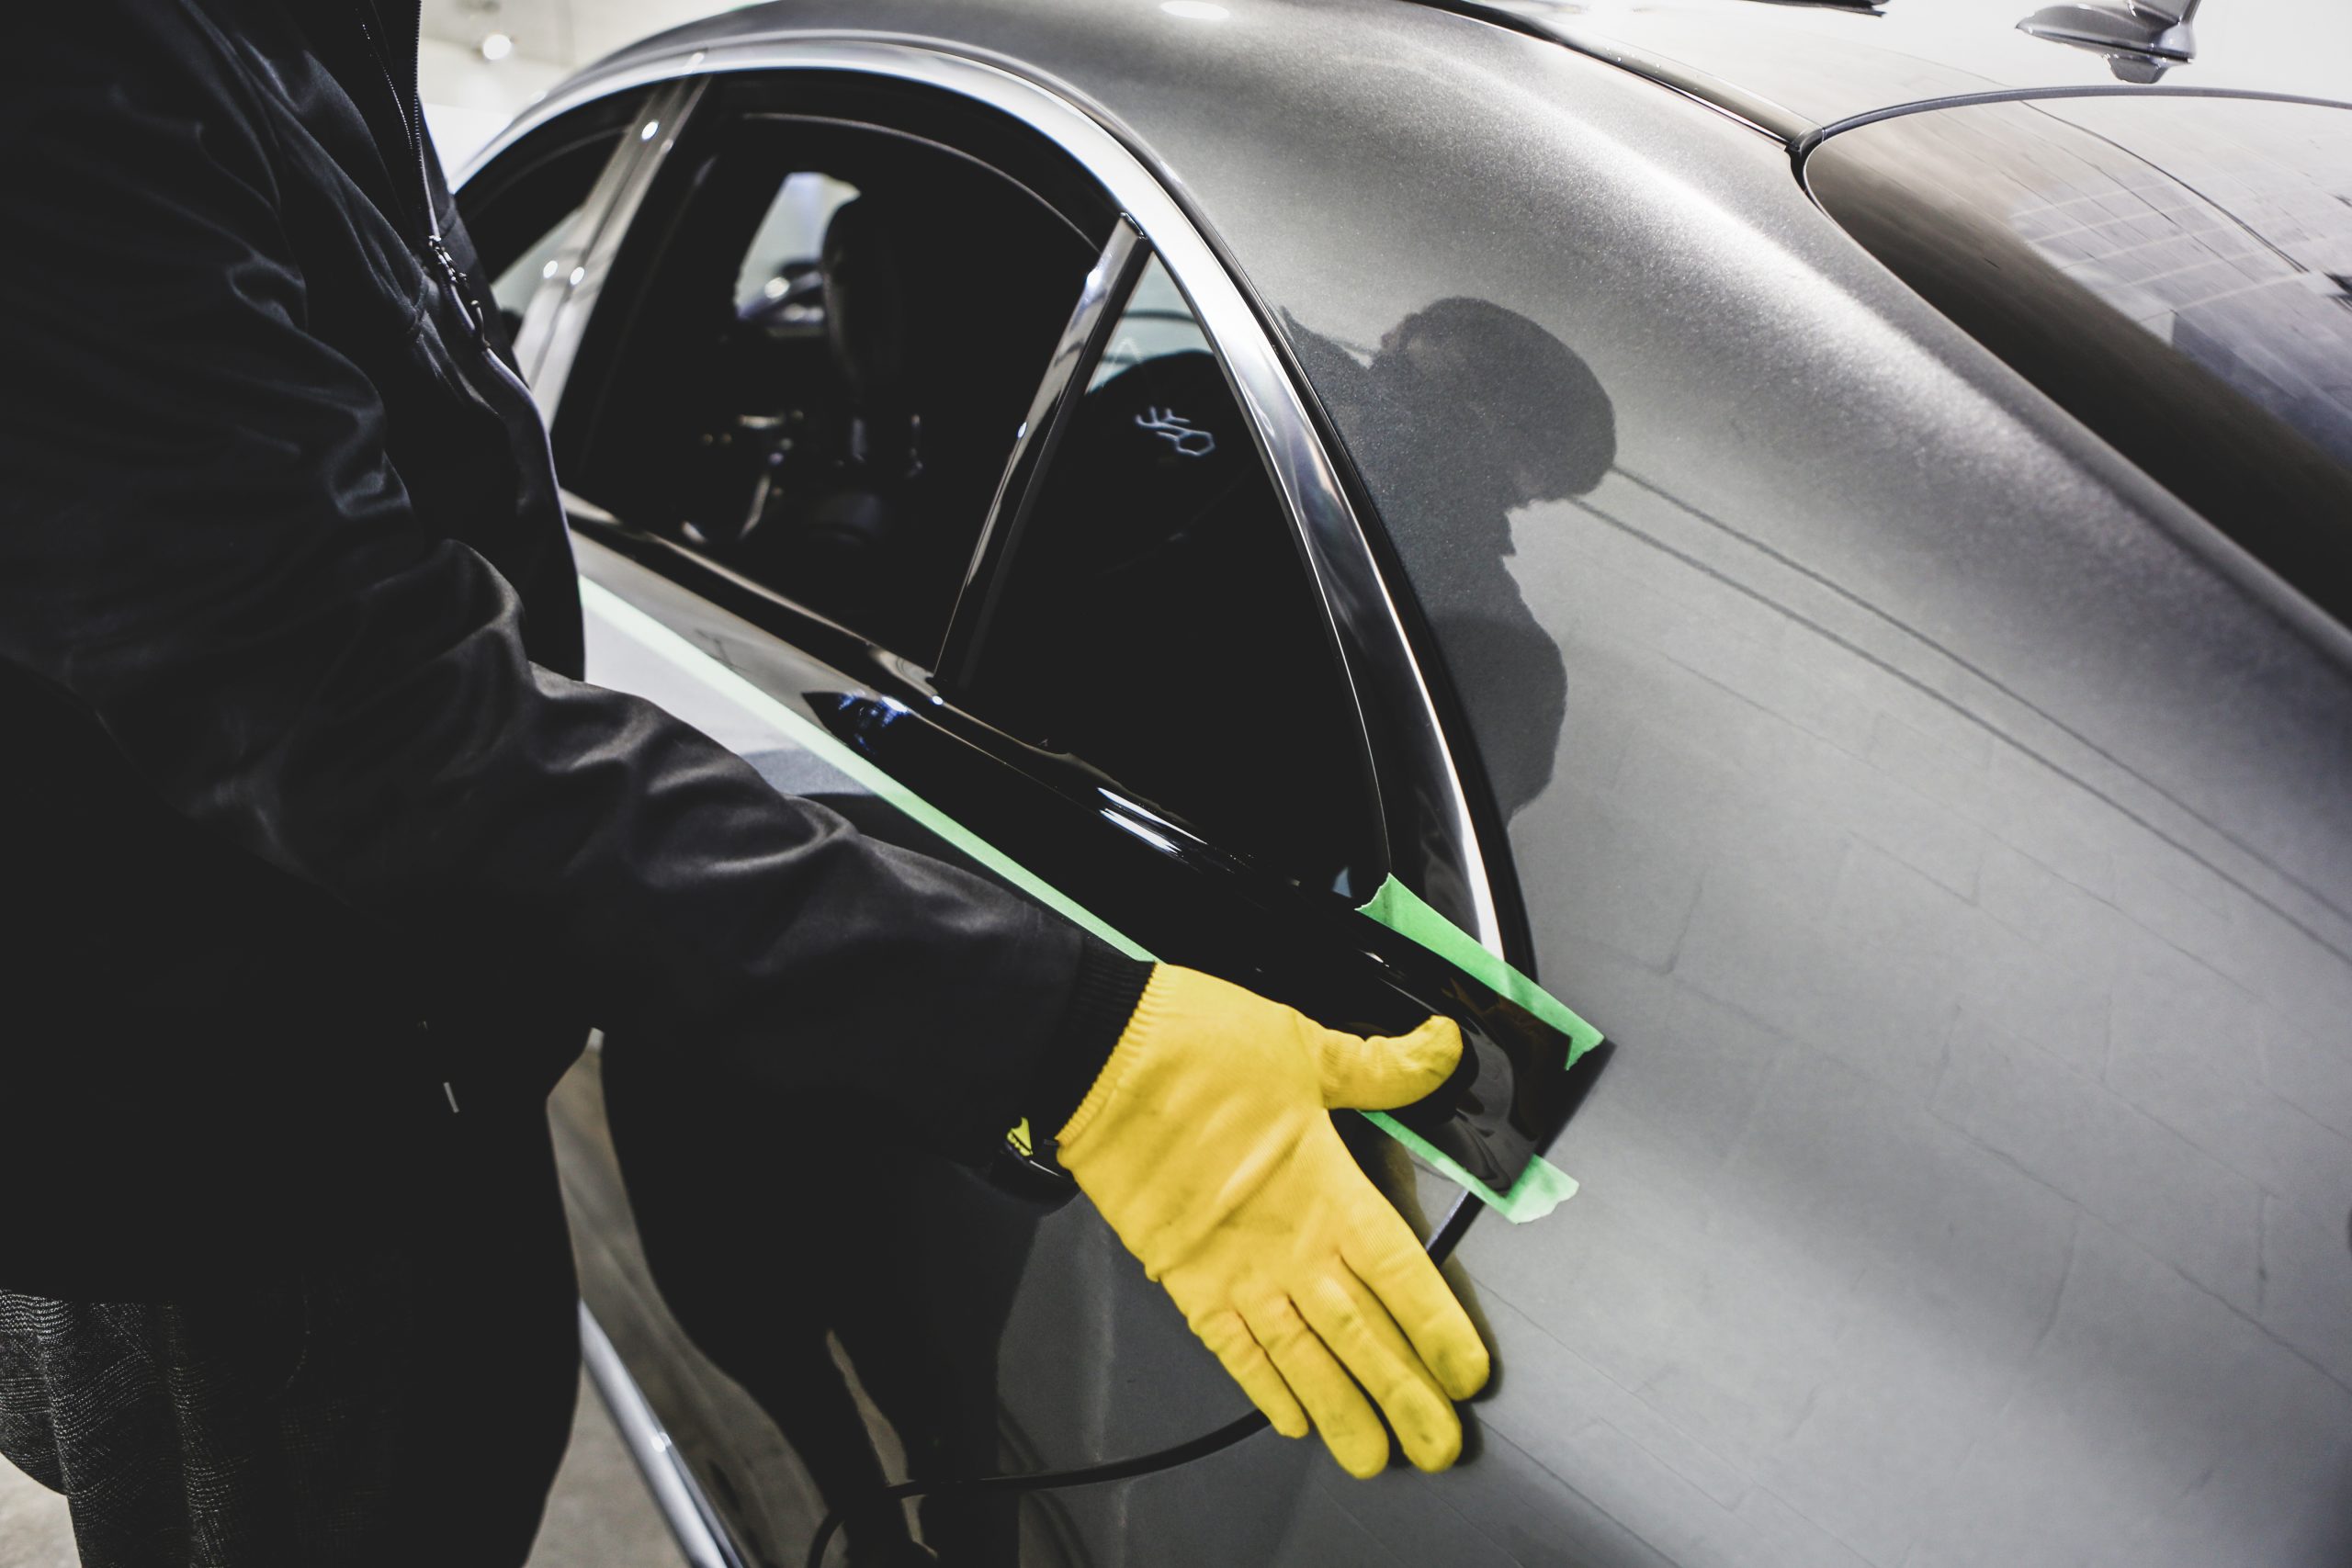

Chrome delete takes bright trim and turns it into a unified black or dark finish that modernizes almost any vehicle. The look is simple. Window surrounds, grille accents, roof rails, and badges lose their glare and blend with paint, glass, and rubber. Done well, a chrome delete feels factory. It sharpens the silhouette, photographs cleanly, and pairs with other upgrades like a roof wrap, light tint, and subtle PPF in high impact spots. This guide walks through finishes, film choices, install methods, maintenance, and packaging so you can deliver a tidy result every time.
What a chrome delete includes
Most packages target the beltline window trim, B and C pillar appliques, mirror bases, small bumper spears, grille slats, roof rails, and sometimes door handles. Badges can be overlaid or replaced, depending on the client’s plan. Some models also have chrome around fog bezels or on lower rocker mouldings. Note every piece during intake. A quick walkaround with a marker on a printed diagram prevents missed parts and awkward surprises on delivery.
Choosing the right finish for the look
Gloss for a glass-like seam
Gloss black lines up visually with the side glass. On many sedans and crossovers it makes the window area read as one clean band. It pops on white and silver paint and disappears on black.
Satin for factory subtle
Satin black cancels glare and reads premium without shouting. It is forgiving on fingerprints and minor dust. Many owners choose satin because it matches OEM black plastics and rubber parts without looking painted.
Matte and texture when you want character
Matte skews toward a motorsport vibe. Brushed black or fine carbon textures add detail in close views while staying calm from a distance. Use texture sparingly on small spears or badge surrounds so the car does not look busy.
Film selection that avoids callbacks
A chrome delete lives on tight, thin mouldings with small radii and many corners. That calls for a pliable, premium cast film. Choose a film with stable adhesive, good initial tack, and low memory so it holds edges after post heat. Polymeric calendared films can work on straight, flat runs, but they fight back on curves and at tight corners. For packs that include mirror bases or complex grille shapes, stick with cast. Stock enough knifeless tape, primer tape for high stress edges, and felts that stay clean.
Prep that makes or breaks adhesion
Chrome shows every speck of contamination. Wash the area, rinse, and dry thoroughly. Clay any bonded contaminants. Degrease with a suitable cleaner, then finish with fresh 70 percent IPA on clean, lint free towels. Use soft brushes and toothpicks to lift dirt from trim seams. Remove wax along the edge of window weatherstrips. Mask paint next to tight cuts. If the vehicle has been recently detailed with a ceramic spray, allocate a few extra minutes to remove the slick residue from chrome surfaces.
Application workflow that keeps edges tight
Straight runs on beltline trim
Measure and pre cut slightly oversize sections. Set an anchor in the center of the run. Work to each end with low, even squeegee pressure using a felt buffer. Keep tension minimal so the film does not thin on edges. At corners, float the film with gentle heat, relax it around the radius, and squeegee from the apex out.
Corners and terminations
Square corners can be wrapped with relief cuts that push stress into the waste, not into the visible face. Round tips can be finished with a micro inlay if the radius is too tight for a single piece. Post heat terminations to the manufacturer’s range so memory resets. Primer tape is useful on exposed forward edges that see wind and wash.
Knifeless where paint is close
Where chrome sits against painted panels, lay knifeless tape first to define a safe cut line. Bridge the film over, set it, then pull the filament for a paint safe edge. Fold and seal the reveal with the felt card. Run a clean microfiber along seams to find any spots that need a second pass.
Grilles, door handles, and tricky bits
Grilles vary from simple horizontal bars to complex honeycomb. For bars with simple geometry, pre cut strips and apply one by one for perfect alignment. For honeycomb, consider painted replacement parts or accept that overlays will require many tiny pieces and time. On door handles, decide between removal and overlay. Removal gives cleaner edges but takes more time and risk. Overlay can work with careful templating and a small inlay on the underside where the hand never sees it.
Badges: overlay, replace, or dechrome
Overlay films can darken badge faces while keeping relief. For thick chrome letters, many shops remove and replace with black OEM or quality aftermarket badges. If the client wants a stealth look, consider debadging where legal and acceptable. For complex crests, pre cut domed overlays add depth and protect the face from fingernails and wash tools.

Durability and maintenance the customer can follow
A well installed chrome delete in premium cast film lasts several years with normal care. Teach customers to hand wash with pH neutral soap, soft mitts, and gentle drying towels. Avoid automatic brushes. High pressure is fine at a sensible distance. Bug remover and tar remover should be safe for vinyl, not solvent heavy. If the client wants extra slickness, a vinyl safe sealant or a light ceramic designed for film can be applied. Remind them to avoid aggressive polishes on vinyl faces and to use detail brushes gently along edges.
Common mistakes and how to avoid them
Stretching along long runs leads to shrink at ends. Instead, lay film with minimal tension and work from the middle. Overheating corners creates gloss changes and weakens adhesive. Use just enough warmth to relax the film. Cutting too close to paint risks a nick that ruins the day. Use knifeless wherever the margin is tight. Skipping post heat on small tips results in lift within weeks. Always revisit corners and exposed edges with a heat check before delivery.
Sensors, reflectors, and legal details
Modern cars hide radar, cameras, and lane assist sensors behind fascias and grilles. Do not cover active sensors with opaque film. Around lights, do not darken reflectors beyond local regulations. Some regions restrict tint levels on head and tail lamps. A chrome delete that crosses into lighting should respect those limits. When in doubt, keep lighting clear and stick to trim, badges, and grilles that do not affect safety systems.
Quoting and packaging that make sense
Price by mapped pieces rather than guessing. A compact sedan with simple beltline trim, mirror bases, and a modest grille may book at a half day. An SUV with layered mouldings, complex rails, and a multi piece grille can take a full day or more. Offer tiered packages. Basic covers beltline trim and mirrors. Plus adds grille accents, roof rails, and badges. Premium includes door handles and any small spears or rocker trims. Pair chrome delete with a gloss black roof wrap or light PPF on the door cups for a neat bundle that raises ticket size while still feeling reasonable.
Set expectations and protect your warranty
Explain that vinyl is durable but not invincible. Keys, watch bands, and automatic brushes can mark it. Edges at forward facing tips see more stress and may need a quick check during the first wash. Provide a short aftercare sheet and invite the customer for a free inspection within a week. If a tiny corner needs a touch, it is handled before it becomes a complaint. Make clear that removal leaves chrome underneath. If a previous owner painted chrome parts, vinyl may pull weak paint. A quick adhesion test during intake catches this risk.
When to decline or redirect
Pitted, flaking, or peeling chrome does not hold vinyl well. Deeply curved, recessed pieces with sharp returns may be better painted or replaced. If the client insists on covering active sensors or illegal darkening of reflectors, steer the job to a compliant layout. A professional no can protect your reputation and prevent difficult warranty calls.
The clean, modern finish customers want
Chrome delete works because it simplifies the shape of the car. It removes glare, ties the glass area together, and makes even a family crossover feel a class newer. With the right film, careful prep, smart edge planning, and honest packaging, you deliver a finish that looks intentional and lasts. Customers see the difference every time they walk up to the car, and that feeling is what keeps them returning for the next upgrade.