

Smoked lenses can transform a car in minutes. The bright plastic that once pulled focus becomes a subtle accent that ties in with gloss black roofs, chrome delete, and dark wheels. That look is powerful, which is why headlight tint and taillight film are popular requests in wrap shops. The challenge is to keep the style while respecting safety and the letter of the law. This guide explains film types, visible light transmission rules, installation technique, and the practical boundaries that protect both your client and your warranty.
What headlight and taillight tint actually is
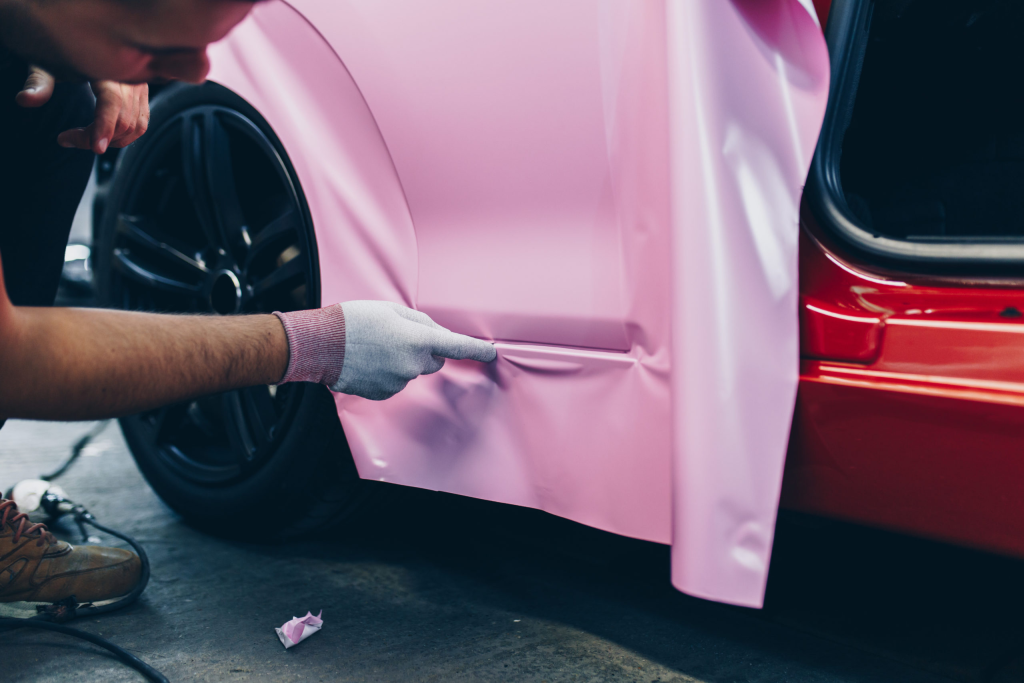
Headlight and taillight tint uses optically clear or tinted polyurethane or vinyl films applied to lamp lenses. The film can be light smoke, medium smoke, or near black. Some products add colors such as yellow for fogs or light blue for certain show builds. Quality films include UV inhibitors and a top coat that resists scratches. Urethane based tints often feel thicker and more forgiving over complex curves, while cast vinyl tints are thinner and can look very crisp on flatter lenses.
Why people choose a smoked finish
The first reason is appearance. A light smoke removes the plastic look and helps the front and rear end feel more premium. The second reason is protection. A clear or lightly tinted urethane can absorb small impacts and resist sand pitting. The third reason is matching. Once a car has chrome delete and a dark roof, bright red lenses can look out of place. A subtle shift toward smoke ties the design together.
The legal reality of VLT rules
Every region sets limits on how much light must pass through lamps. Visible light transmission, or VLT, is the measure. Headlights must project enough light for safe driving and for inspection standards. Taillights must remain red and bright enough to signal clearly. Turn signals must stay amber where required, and reflectors must remain visible. Laws vary by country, state, and even city. Some regions ban any darkening of headlights. Others allow light smoke if output and color stay within standards. Many rules distinguish between headlights, rear lamps, and auxiliary fogs.
How to approach compliance
Treat legality as part of the intake process. Ask the customer how and where the vehicle is driven. Explain that VLT rules and reflector requirements apply to lamps just as window tint rules apply to glass. If the customer wants a dark look, steer them toward taillight film with measured smoke and leave headlights clear or lightly protected. Recommend clear or very light yellow on fogs if they want function for poor weather. When in doubt, choose a film that is designed to maintain output and color, and avoid covering required reflectors entirely.
Choosing the right film for the job
Film choice decides how the install looks a year from now. Optically clear polyurethane with a smoke tint holds up well to road abrasion and heat cycles. It is thicker, so it tolerates stretching over dome lenses without hazing. Cast vinyl tint is thinner and can look razor clean on flat or gently curved lenses. It needs careful heat control to avoid distorting texture on micro patterned lamp faces.
Finish and shade selection
Light smoke is the most versatile. It mutes plastic glare without calling attention from a distance. Medium smoke works when the car has other dark accents and the customer understands the legal and safety trade offs. Dark smoke looks dramatic in photos, but it crosses legal lines in many places and can reduce night visibility. Yellow is a functional choice for fog lights in poor weather since it improves contrast in certain conditions. Avoid novelty colors on required lamps where law demands red or amber output.
Safety first on headlights
Headlights are not just covers over bulbs. Many modern lights are projectors with complex optics. Dark films can alter beam shape, reduce throw, and change color temperature. A small reduction in output might seem acceptable in a garage, yet it becomes significant on an unlit road. If a client insists on a heavy smoke for headlights, the safest path is to decline or to recommend clear protection instead. For fogs and driving lamps that are not primary headlights, use the lightest tint that still gives the look.
Prep and install technique that keeps lenses clear
Lamps collect road film and wax. Clean them thoroughly with a residue free soap and water, then wipe with 70 percent isopropyl alcohol on a fresh towel. Blow out the edges of the housing and trim so water does not leak under film during heat. If the lens is heavily pitted, explain that texture will telegraph. Light polishing may help on plastic lenses, but avoid compounding that melts or smears the polymer. Never apply aggressive solvent cleaners that can haze polycarbonate.
Wet or dry application
Most urethane tint films are designed for wet application using a slip solution that allows you to position the piece without trapping air. Vinyl tints are often installed dry on smaller sections, with heat to relax film over curves. Confirm the manufacturer’s guidance. On large domed lenses, pre stretch the film gently on a clean bench to reduce tension across the face, then let it recover before application. This prevents fingers at the edges.
Heat control and edge sealing
Use even, moderate heat. Too much heat can distort the lens texture or create haze in the film. Seat edges with a soft squeegee and a microfiber buffer, then return for a second pass once the lens has cooled. Consider a small strip of edge sealer or a light post heat on the perimeter where wash pressure hits. Do not flood the seam with slip solution, since moisture trapped under the edge will try to escape during the first hot day and can create blisters.
Taillights, turn signals, and reflectors
Rear lamps are more forgiving than headlights, but they still carry legal duties. Brake lamps must remain red and bright. Turn signals must read amber or red according to local rules. Many housings include molded red reflectors that must remain visible. Plan your pattern so the reflector boxes are not completely blacked out, or select a film shade that allows the reflector to do its job. On vehicles with clear outer lenses and internal red optics, a very light smoke often preserves output while achieving the look.
Panel breaks and disassembly
Some taillights wrap around the quarter panel and include sharp returns. A cleaner result often comes from removing the lamp where access is simple and safe. If removal risks breaking tabs, use knifeless tape to plan seams in shadow lines and accept a small, hidden join. On compound shapes, a main piece plus a tiny inlay can look better than forcing a single piece into a deep pocket.
Testing output before delivery
After install, test the lights in a dark bay or at dusk. Check low and high beams for beam shape and cutoff on a wall. Confirm brake, tail, reverse, and turn signals from a car length back. If output looks borderline, discuss options with the owner immediately. A small adjustment in shade can rescue safety and legal compliance without losing the design goal.
Care and maintenance that preserve clarity
Advise owners to hand wash with pH neutral soap and soft towels. Avoid harsh degreasers and ammonia cleaners on films. Pressure washers should stay at a safe distance and should not be aimed directly at edges. Bug remains and tar should be softened with approved cleaners that will not attack the film or the lens. If the car will be ceramic coated, use a product designed for vinyl and urethane, and avoid heavy polishing on tinted lenses.
Warranty talk that sets expectations
Be transparent about what you cover. Workmanship issues such as early edge lift or trapped moisture are on you to fix quickly. Impacts from rocks, harsh chemicals, or illegal tint citations are not warranty items. State this in writing, along with a note that lamp tint is subject to local VLT rules and reflector requirements. Many customers appreciate an option list that includes clear protection for headlights, light smoke for tails, and no film on required reflectors. That menu keeps choices informed.
When to say no
There are times to decline. Requests to black out headlights, to cover forward reflectors on bumper corners, or to tint lamps that already struggle with clarity should be refused. Your reputation is worth more than a short ticket. Offer alternatives such as clear PPF for protection, light smoke on tails only, or a removable show film for track events and photos that will be removed before road use.
A practical consultation script
Ask the client to describe the look they want and where the car is driven. Explain VLT rules and how reflectors help keep the car visible. Recommend a shade that respects those realities. Offer clear film on headlights, light smoke on taillights, and a careful approach to any amber signals so color remains true. Confirm that any film applied will not interfere with sensors near the lamp assemblies. Close by outlining aftercare and a quick follow up check after the first week.
The takeaway
Headlight tint wrap and taillight film can be tasteful and durable when they are chosen and installed with care. Think in terms of VLT rules, color fidelity, and reflector function first, then select the film and shade that deliver the look. Prep lenses like you would prep paint, control heat, and test output before delivery. When style and legal compliance move together, the result looks intentional, keeps the road safer, and protects both the customer and your shop.