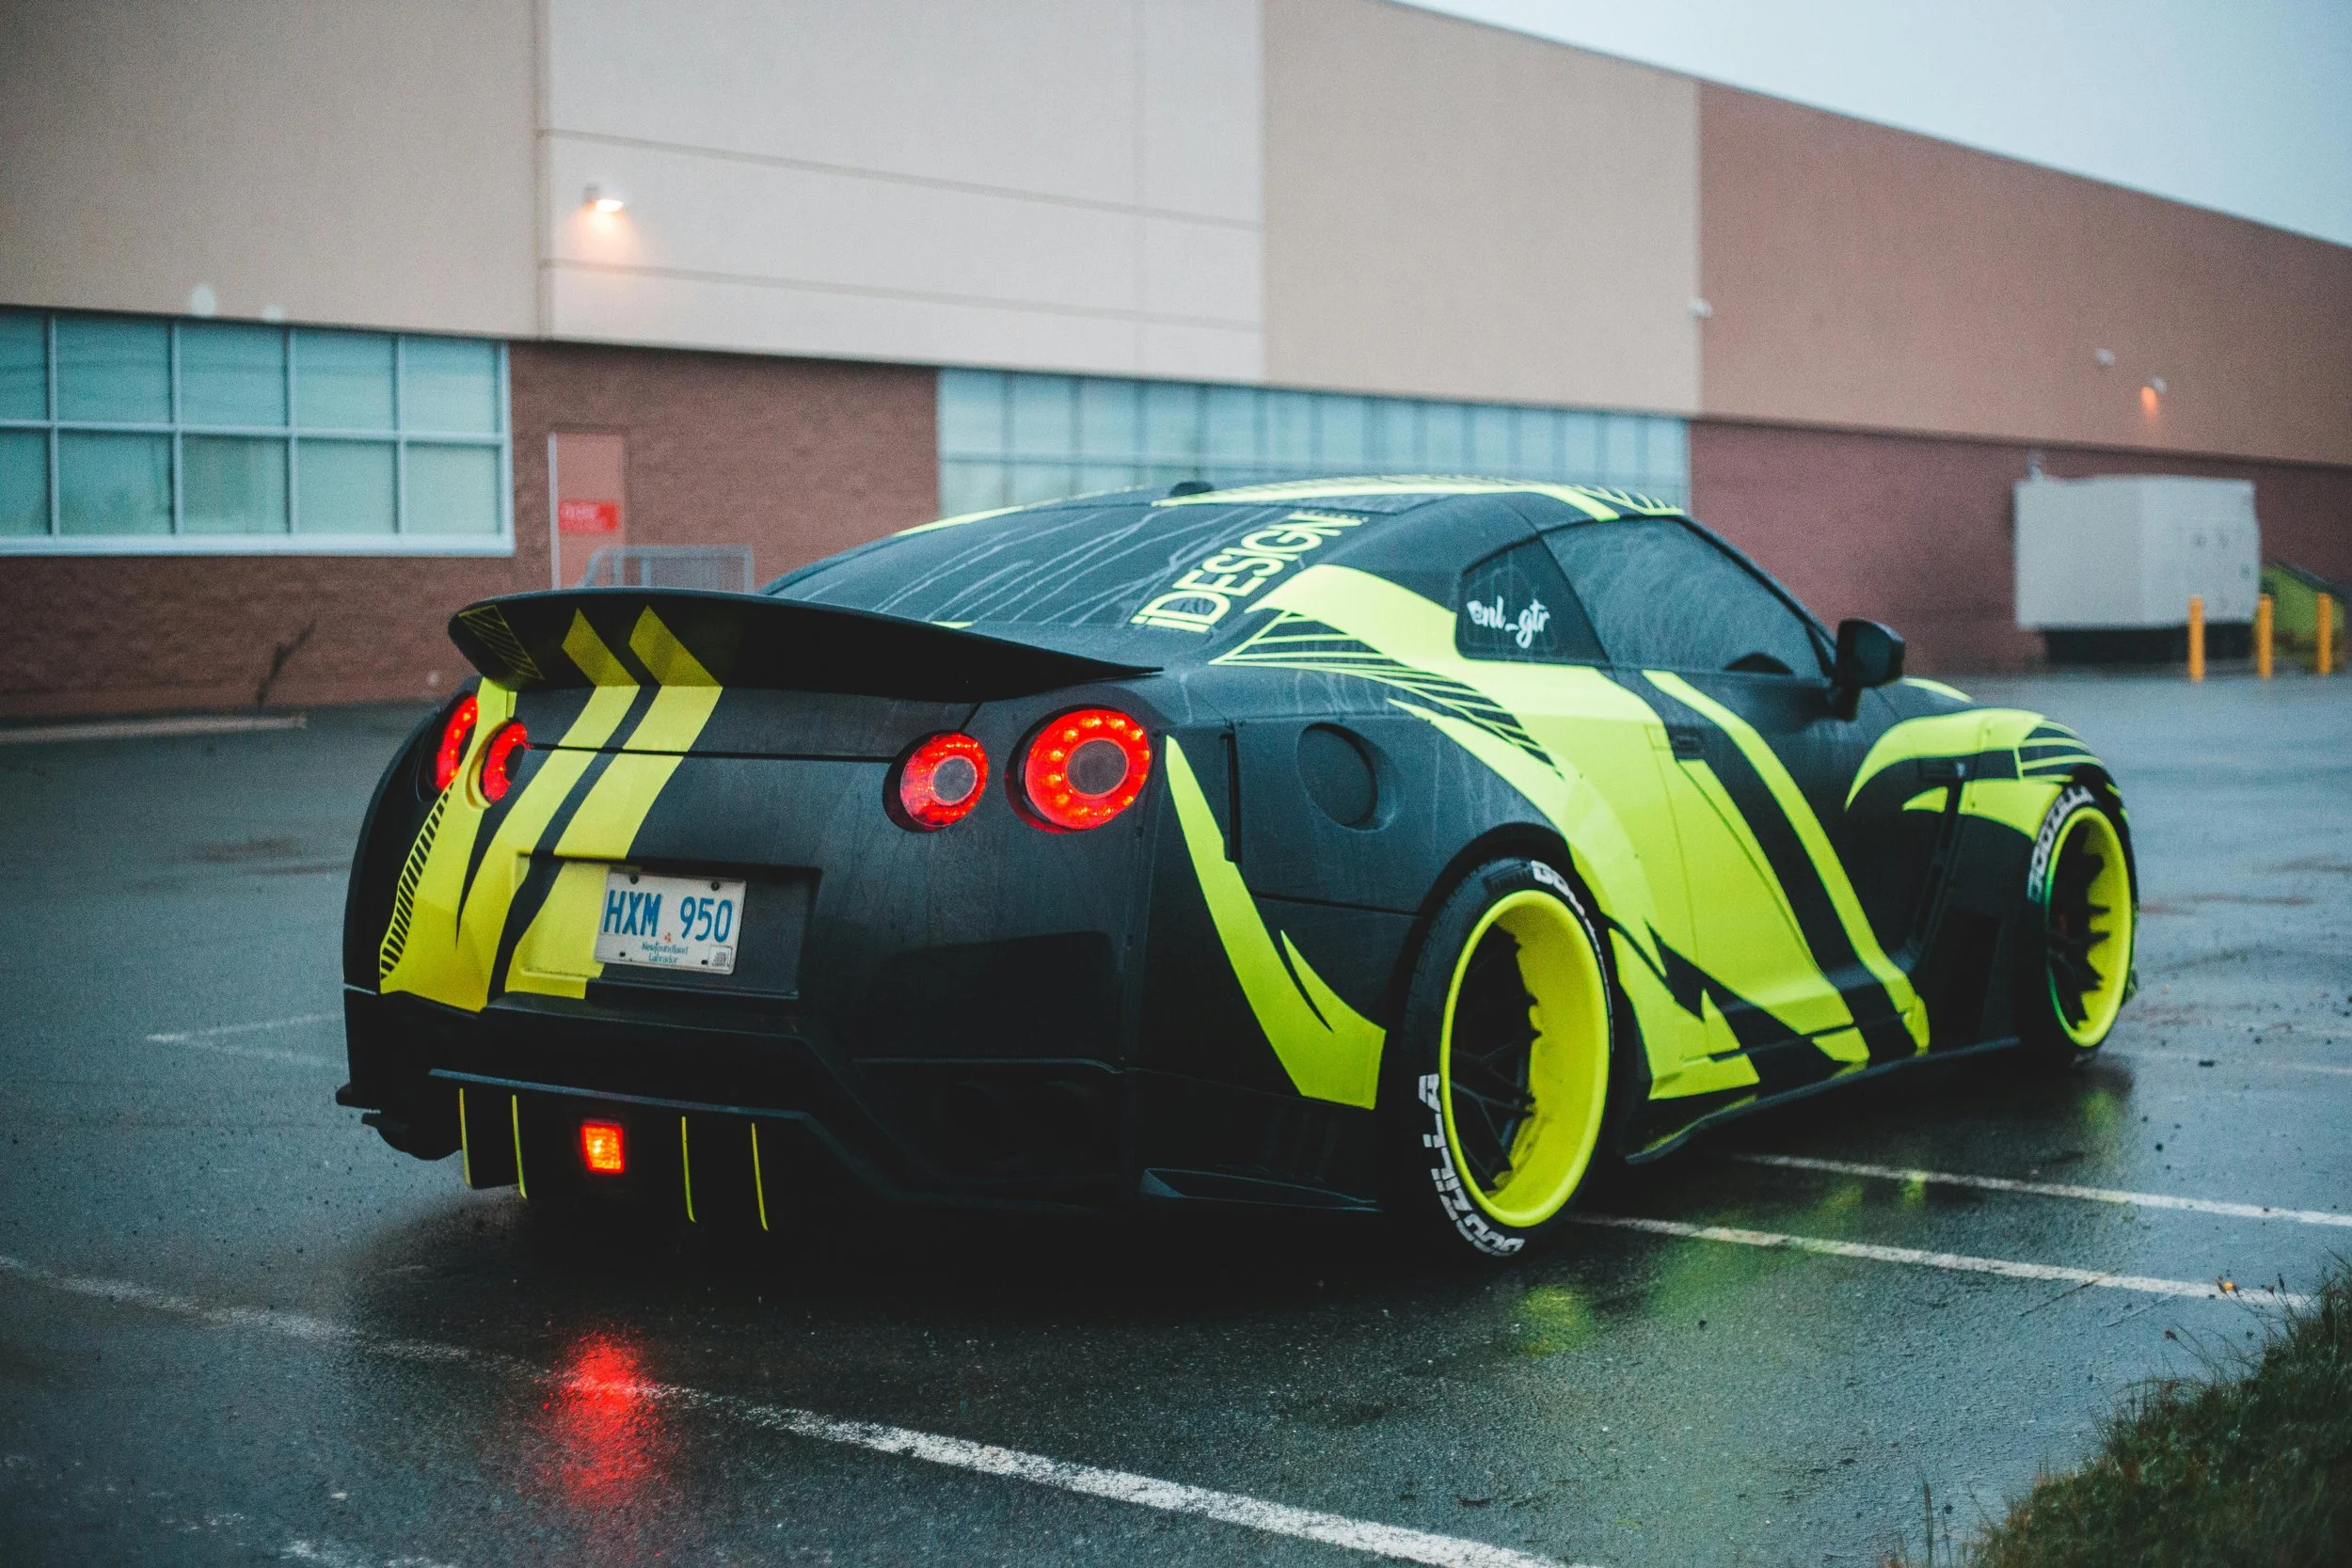

Cold months do not have to slow your schedule. A winter wrap can look as clean and last as long as a summer job when you control environment, film handling, and timing. The challenge is simple to describe and easy to miss in practice. Adhesives need warmth to wet out, films get stiff when they are cold, and trapped moisture hides in seams waiting for heat. With a deliberate plan you can turn winter conditions into predictable work.
Why cold changes the rules
Vinyl adhesives flow into the microscopic texture of paint. That flow slows as temperature drops, which is why low panels feel like they reject pressure when the bay is chilly. Cold film also resists bending, so corners want to spring back. Add condensation from a car that just came in from sleet, and you have every ingredient for lift. A winter routine begins with patience. Warm the space, dry the vehicle completely, and give materials time to acclimate before you touch a panel.
Garage setup that supports clean installs
A stable room is more valuable than a big one. Aim for a steady 18 to 24°C with gentle airflow and bright, even lighting. That range keeps film supple and gives the adhesive a fair chance to bond. If your heater creates hot spots, place a simple fan across the room to mix air without kicking up dust. Control humidity so condensation cannot form on cool metal when warm air hits it. Floor cleanliness matters more in winter because salt and grit ride in on tires and boots. A quick floor wash before you start prevents debris from becoming tiny bumps under film.
Vehicle intake and drying in winter
Arrivals bring meltwater, road salt, and detail sprays that behave poorly in the cold. Rinse the vehicle thoroughly, then wash with a detergent that leaves no gloss enhancers. Blow water from mirrors, badges, window seals, and fuel doors with clean air. Park the car in the bay and allow panels to reach room temperature. If time is tight, warm large sections of metal gently with a heat gun held well back, moving constantly so you warm the mass without spotting heat on paint. Do not rush this part. Hidden moisture is the number one reason edges fail after a winter install.
Film storage and handling when it is cold
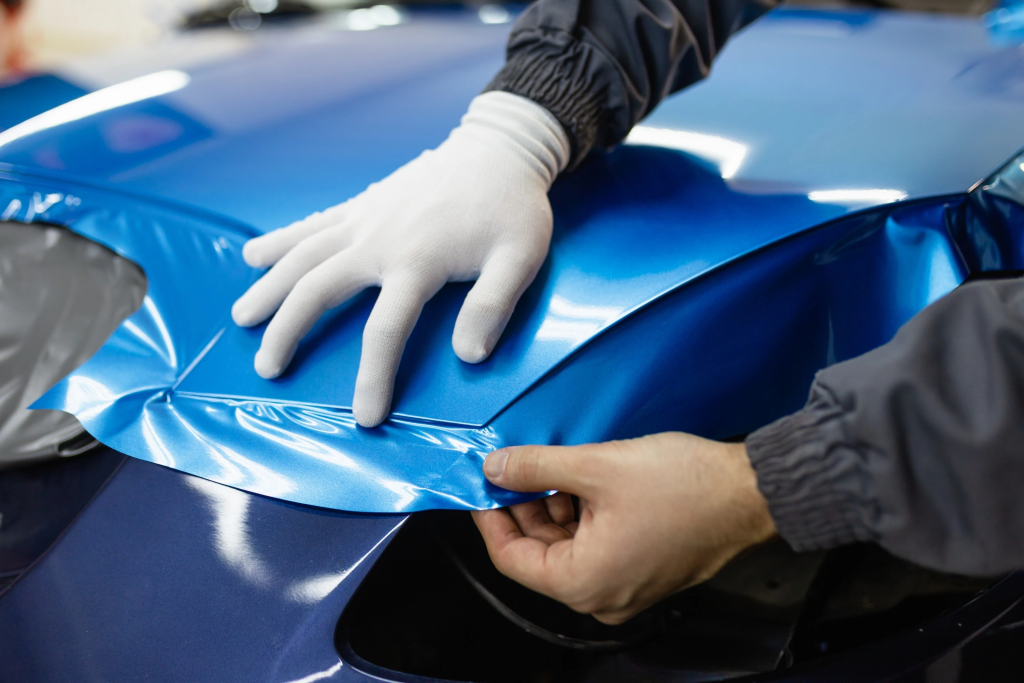
Keep rolls indoors, upright, and away from direct heat. Bring material into the bay several hours before you start so it reaches the same temperature as the vehicle. A cold roll can tunnel or curl on the bench, which invites contamination. When you cut, keep liners flat on the table so static does not lift dust. If you notice the face feels rigid at the edges, spend a minute warming the panel on the bench with wide, gentle passes before you carry it to the car. This small step reduces fighting at corners.
Heat management that protects finish
Heat is your partner in winter, yet it must be measured. Think in stages. First, warm the panel on the vehicle to a comfortable surface temperature so squeegee glide feels natural. Second, warm the film only enough to help it relax over curves. Third, reserve real heat for post heating stretched zones so memory resets. A good rule is to use a heat gun for most tasks because it gives even warmth and time to read the surface. A torch can be helpful for stubborn returns, but the risk of gloss change or adhesive softening rises when the room is cold and you stand too close. Keep tools moving, read the sheen, and let the material guide you.
Install temperature and how to hold it
Every film has a printed minimum install temperature. In winter you should treat that number as a floor, not a target. Keeping both the panel and the film comfortably above that minimum gives you breathing room. Warm a section, install it, and avoid large gaps of time where warmed panels can cool down before you seat edges. If you step away, recheck surface warmth with your hand before you resume. Consistency beats spikes. The goal is steady, moderate heat rather than bursts that shock the surface.
Adhesion, pressure, and curing time
Bonding slows in the cold. Compensate with deliberate, even pressure and a second pass along edges after the film relaxes. Post heat any zone that saw meaningful stretch, paying attention to corners, deep returns, and bumper pockets. Then respect curing time. A winter wrap needs more hours before it faces wind, rain, and road spray. If you normally release the car the same day in summer, hold it overnight in winter when possible. That extra rest lets the adhesive wet out and reduces the risk of early creep.
Edge strategy that survives winter
Forward facing tips see the harshest treatment in cold months because freezing water and pressure washers attack those points. Plan seams in body lines and shadows so edges are shielded from the wind. Use primer tape sparingly on high stress paint edges that you know will see stretch, such as bumper corners and rocker returns. After you seat an edge, give it a short warm pass and a firm squeegee stroke. Run a fingertip along every perimeter and listen for spring. If you feel tension, lift a few millimeters, warm, and reseat rather than hoping the edge will settle later.
Printed wraps, textures, and finish choices
Printed vinyl with laminate is thicker and can feel sluggish in cold rooms. Keep shaping heat gentle to avoid haze in laminate. Textures like brushed or carbon need calm handling or the pattern will distort. If a winter job allows finish choice, consider films known for supple handling and stable adhesives at lower temperatures. You still need warmth, but a cooperative face saves time and reduces the temptation to stretch too far.
Mobile work and temporary enclosures
Not every install happens in a perfect bay. If you must work on site, bring a pop up tent, sidewalls, heaters, and a thermometer. Build a small microclimate around the vehicle. Heat the air, not the panel directly. Position heaters away from the car to prevent hot streaks on paint. Keep a carbon monoxide detector in the tent when you use fuel based heaters, and vent carefully so you do not fill the space with fumes or moisture. Bring extra towels and gloves. Cold gear collects water that transfers to edges if you are not paying attention.
Troubleshooting winter specific problems
If a panel looks hazy or milky during install, pause and check for condensation. Wipe, warm, and start again. If a corner refuses to stay down, ask whether the film is still cold inside the material. A gentle bench warm on the next piece can fix that fight before it starts. If adhesive smears on the alcohol wipe, the surface is either too hot from spot heating or too cold and you are rubbing too hard. Let the panel reach room temperature, then reclean with light passes and fresh towels. If edges begin to creep during the first inspection, warm them to a sensible range, reseat with pressure, and consider a narrow strip of sealer in the airflow path.
Customer handover and winter aftercare
Explain the winter reality in simple terms. Ask the owner to avoid washing for a week and to keep the car away from pressure jets during that period. Recommend hand washes with pH neutral soap and gentle drying. If a freeze is coming, suggest parking under cover so edges do not see an immediate freeze after install. Invite the customer back for a quick check within seven to ten days. A two minute heat and press on a tiny corner now is better than a callback later.
A practical sequence you can reuse
Warm the room and steady the airflow. Wash, rinse, dry, and blow out seams. Let the vehicle acclimate. Bring film to the same temperature as the car. Wipe with alcohol using fresh towels. Pre warm each panel, then install with light, even pressure. Post heat stretched zones. Give edges a second pass once the surface relaxes. Let the wrap rest before exposure to cold wind and water. Small, repeatable steps add up to winter results that look like summer work.
The takeaway
A cold weather wrap is not about fighting the season. It is about controlling install temperature, using calm heat management, respecting curing time, and building a supportive garage setup. When you treat those four ideas as non negotiable, film behaves, edges stay quiet, and your winter calendar stays full with confident deliveries.